Security Testing
Tomaso Vasella

Ever tried to install windows 7 in a virtual machine for testing purposes? Well… then you probably know that is a resource consuming task in terms of memory footprint.In test environment you may need to have more than one windows 7 machine running at time and if you like to use a laptop running VMware or Virtualbox or whatever virtualizing tool you may have, it will probably eat all your memory resources with just a few VM instances. This is where the stripping part of this article comes to count.
Out of the box Microsoft enables too many services and delivers all possible set of executable in standard installation. This means that on your hard disk you’ll find programs that you’ll probably never use; this is not only a waste of disk space but also a security concern. As a matter of fact, the more code you’ve installed in your operating system, the more “attack surface” you are presenting to malware events.
It is good practice in security hardening to remove first all part of functionality (executable code) that are not strictly needed inside an operating system as long the function needed are not affected. This is called “stripping” and we’ll talk about it here in the first part of this LAB article.
The first approach would be to customize the windows installation making use of the WAIK (Windows Automated Installation Kit) a set of tools and documentation provided by Microsoft to support configuration and deployment of windows operating systems. This process requires manual interventions and a solid knowledge of the windows architecture and modules dependency. Of course the “doing by hand” philosophy provides many goodies and is surely the preferred way for the ones who want to have control of every step of the stripping process, but requires much more skill and time to accomplish.
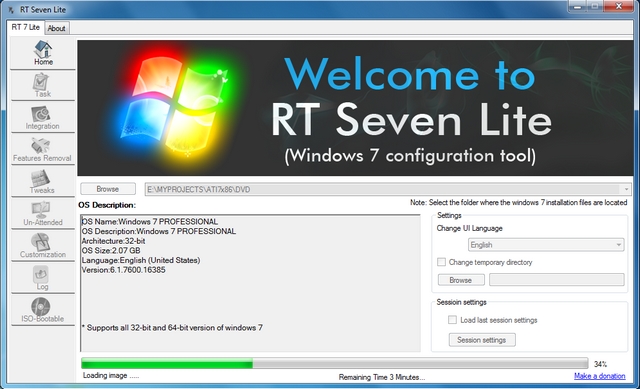
Here I want to present an easier way to accomplish such complex task with less hassle, and therefore I will introduce RTSe7enLite.

This tool has been developed by Rockers Team to customize windows OS allowing following features to be implemented:
RT 7 Lite is free for personal and commercial usage and capable to customize and strip down Windows client & server versions but has following prerequisites:
| Step | Menu | Description |
|---|---|---|
| 1 | Startup | During the firts startup RT7lite will ask you to provide the windows source files: a DVD/ISO image or a destination folder with the installation files inside |
| 2 | Destination | Select a destination folder where the files will be extracted to |
| 3 | Version | After the file extraction, you’ll be asked to select the windows version to configure |
| 4 |  | Here you’ll select how to proceed the customization: manually or selecting a preconfigured setting |
| 5 |  | This dialog will ask you to provide 3.rd party software (silent installer only) or windows security updates (this is an optional step) |
| 6 |  | Select components to deactivate and/or its related binaries to (optionally) remove |
| 7 |  | Here you may define tons of configuration customization (like services, security, desktop, system or custom registry settings) |
| 8 |  | Here you can select all default settings to make your installation running in silent mode providing license, usernames, system name, RunOnce settings and much more |
| 9 |  | Now may define your themes, wallpapers, logon screen, gadgets, … to personalize your installation |
| 10 | | When all your settings are done, click on the [APPLY] button |
| 11 |  | Now the LOG dialog will be diplayed and you’re ready to create the system image |
| 12 | | start the procedure by clicking on the [COMMIT] button |
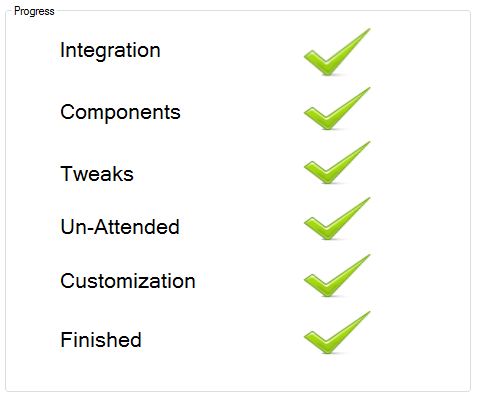
Please beware that this process may take 60 to 90 minutes and MAY freeze your system until the image generation is done. So take your time and don’t panic is the system reacts slowly… But finally you’ll should get this log message:

Now select ![]() to create a bootable DVD or ISO image.
to create a bootable DVD or ISO image.
Once you have your image, do a test installation to see if the system is working as expected. Remember that removing critical system components (marked in red in the feature removal dialog) may create unstable system. With the right stripping configuration you will get 20-60% less memory footprint for the running system, thus helping to run more machines in your virtual environment.
In this article we covered stripping the OS using tools, next month we’ll focus on the hardening prodcedures, stay tuned.
Our experts will get in contact with you!

Tomaso Vasella

Eric Maurer

Marius Elmiger

Eric Maurer
Our experts will get in contact with you!