Transition to OpenSearch
Rocco Gagliardi

In the Internet and the Things we talked about different protocols used by different devices to communicate with each other, and pictured a very high level overview of how the things should work. In this article, we take a closer look at the RFID standard and play with some tags of type ISO/IEC 18000-2:2009 (125-135kHz), mainly used for identification purposes.
The idea, here, is to take the EM4000 RFID tags family as example to look at the various components involved, and then use a very cool tool named RFIDler to extract information and quickly emulate or clone a tag. RFIDler is a Kickstarted project I backed last year, created by Aperture Labs Ltd.
Now, we will add some pieces to the puzzle and next, time, we’ll look at the more interesting ISO/IEC 14443 (Mifare) tags and NFC protocol.
RFID is an acronym for Radio-Frequency IDentification, the usage of electromagnetic fields to exchange data and – in some cases – power. RFID isn’t a new technology, it has been developed in the 1970s. Two actors are involved: a transceiver will identify an object (transponder) tagged with a specific ID. Tags can be passive or active (self powered) or mixed.
In this article, we will play only with passive tags. A passive tag is basically composed of a chip – responsible to process the information request – and an antenna. The transponder’s antenna receives power from the transceiver’s antenna, the transponder’s chip sends back the information digitally encoded over an analog modulated signal.
The modulation (ASK, FSK, PSK) and encoding (Manchester, Bi-Phase) may differ for each tag; please follow the links and familiarise with the terms, before you continue. The data stored, for this type of tag, are normally some words. Read the 512 bit Read/Write Multi-purpose Contactless Identification Device description of the EM4205-EM4305 CMOS integrated circuit, to see how the information are organised for this specific chip (UID, Passwords, user data, etc.).
Following infrastructure has been used:
| Object | Version | Description |
|---|---|---|
| Macbook | Macbook | Macbook |
| Parallels | 11 | To run VMs on the Macbook |
| Kali | 2.0 | The gaming distro |
| RFIDler | v022b, 0165-b | To deal with the tags |
| Tags | n.a. | Some tags to play with |
The image Board Setup shows the RFIDler board (a) and the setup used to analyse the tags (b). Various try/error showed that some distance between coil and tag is strongly suggested, otherwise, depending on the transponder’s coil form, the result may be very strange.

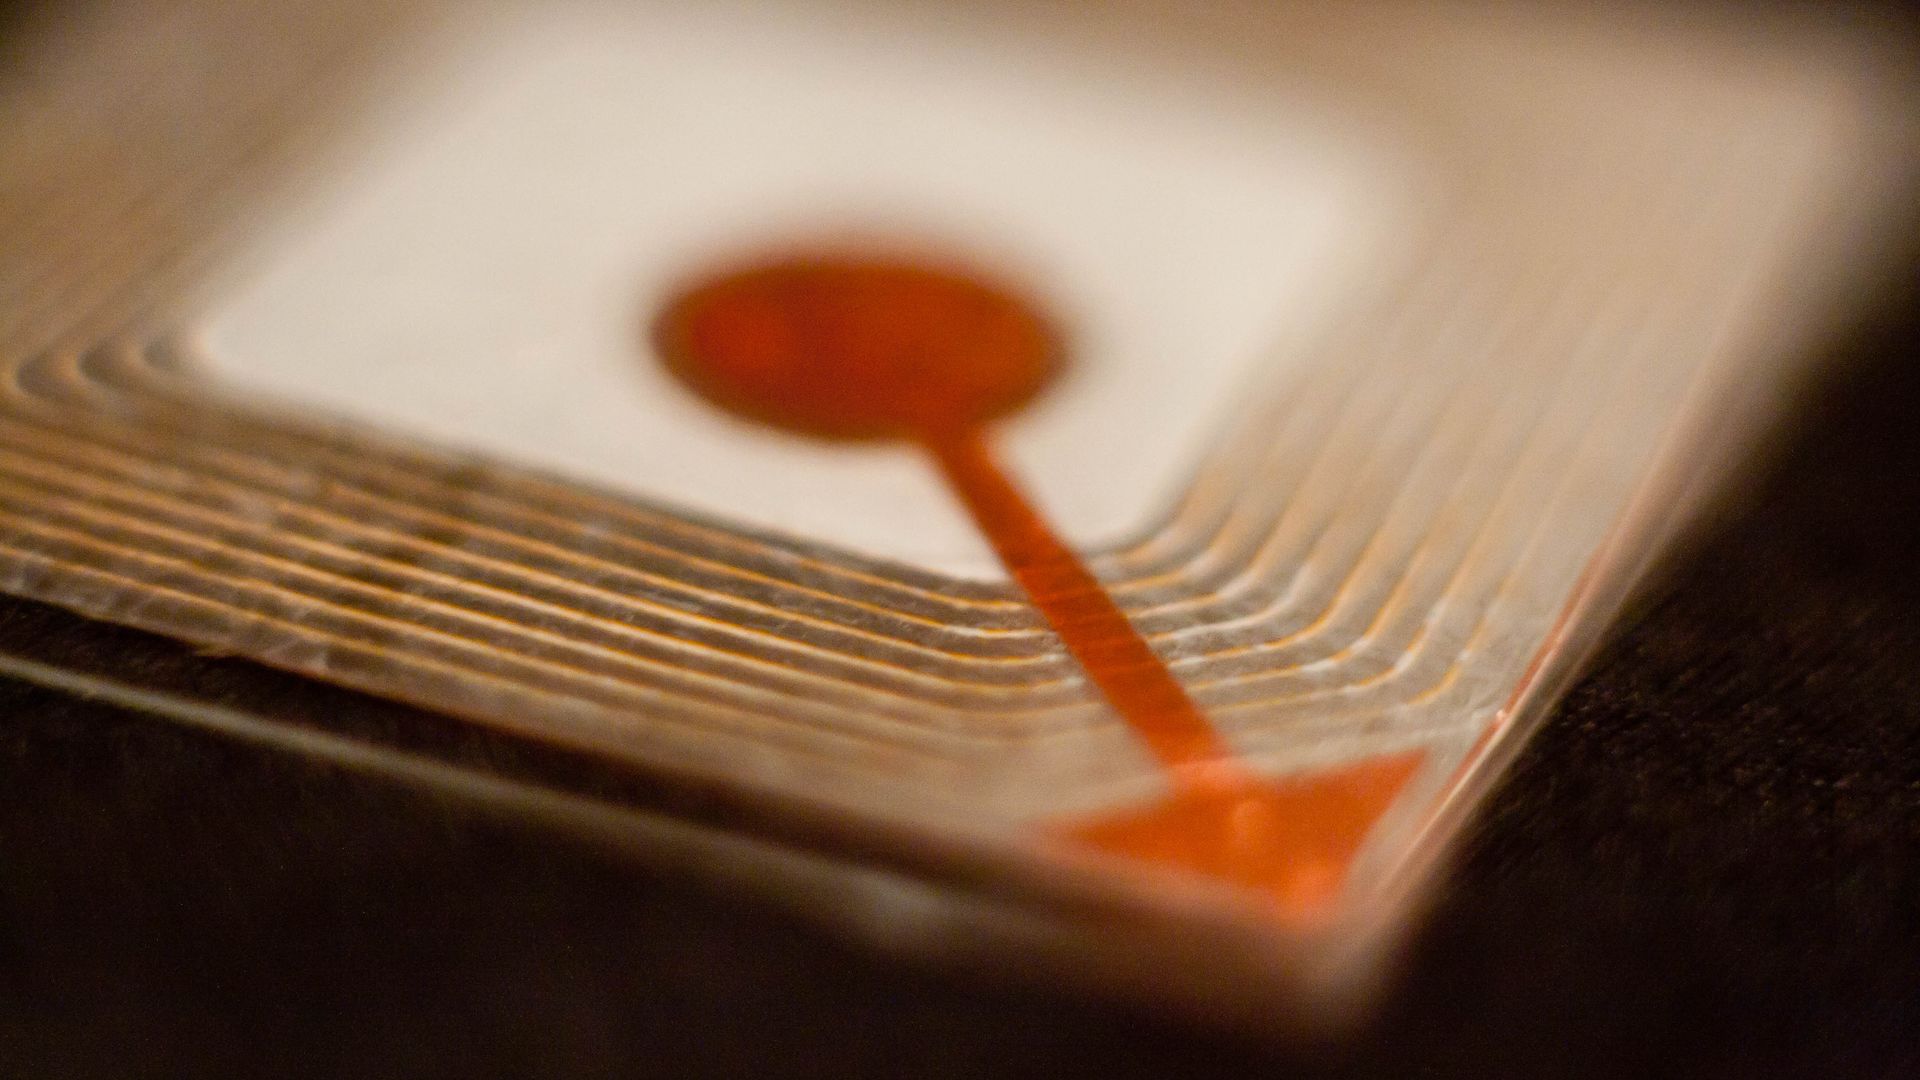
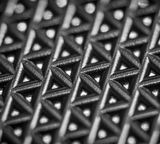
Image RFID Tags shows the (poor-man’s-x-ray version of the) tags used. They are all based on the standard EM4×02 family, but with different form factors and coils.

Connect the board, update firmware, connect to the CLI trough terminal.
root@kali2:/etc/udev/rules.d# cat 71-rfidler-lf-cdc-blacklist.rules
# place this file in /etc/udev/rules.d and run 'sudo udevadm control --reload-rules'

ACTION!="add|change", GOTO="mm_usb_device_blacklist_end"

# bootloader mode (microchip ID)
ATTRS{idVendor}=="04d8" ATTRS{idProduct}=="003c" MODE:="0666" SYMLINK+="RFIDlerBL"

SUBSYSTEM!="tty", GOTO="mm_ignore"

# openmoko issued id for rfidler-lf
# http://wiki.openmoko.org/wiki/USB_Product_IDs
ATTRS{idVendor}=="1d50" ATTRS{idProduct}=="6098" MODE:="0666" SYMLINK+="RFIDler"

LABEL="mm_ignore"
ATTRS{idVendor}=="1d50" ATTRS{idProduct}=="6098", ENV{ID_MM_DEVICE_IGNORE}="1"

LABEL="mm_usb_device_blacklist_end"

root@kali2:/var/log# tail kernel.log
Oct  6 20:09:42 kali2 kernel: [ 2498.962371] usb 2-1: new full-speed USB device number 3 using uhci_hcd
Oct  6 20:09:42 kali2 kernel: [ 2499.115975] usb 2-1: New USB device found, idVendor=1d50, idProduct=6098
Oct  6 20:09:42 kali2 kernel: [ 2499.115980] usb 2-1: New USB device strings: Mfr=1, Product=2, SerialNumber=3
Oct  6 20:09:42 kali2 kernel: [ 2499.115982] usb 2-1: Product: RFIDler-LF
Oct  6 20:09:42 kali2 kernel: [ 2499.115984] usb 2-1: Manufacturer: Aperture Labs Ltd.
Oct  6 20:09:42 kali2 kernel: [ 2499.115986] usb 2-1: SerialNumber: 49780C1E00E1
Oct  6 20:09:42 kali2 kernel: [ 2499.125379] cdc_acm 2-1:1.0: ttyACM0: USB ACM device

root@kali2:/etc/udev/rules.d# ls -lisa /dev/ttyACM0
36833 0 crw-rw-rw- 1 root dialout 166, 0 Oct  6 20:13 /dev/ttyACM0
root@kali2:/etc/udev/rules.d# minicom -D /dev/ttyACM0 -b 115200

RFIDler> version
0114-beta

RFIDler>
CTRL-A Z for help | 115200 8N1 | NOR | Minicom 2.7 | VT102 | Offline | ttyACM0


rcc@kali2:~/devel/_hardware/RFIDler/project$ git clone https://github.com/ApertureLabsLtd/RFIDler.git

rcc@kali2:~/devel/_hardware/RFIDler/project$ tools/mphidflash-1.6-linux-64 -r -w RFIDler/firmware/Pic32/RFIDler.X/dist/default/production/RFIDler.X.production.hex
USB HID device found: 503808 bytes free
Device family: PIC32

Erasing...
Writing hex file 'RFIDler/firmware/Pic32/RFIDler.X/dist/default/production/RFIDler.X.production.hex':.........
.............................................................................................
..

rcc@kali2:~/devel/_hardware/RFIDler/project$ minicom -D /dev/ttyACM0 -b 115200

RFIDler> version
0165-beta
And now, the environment is ready.
We have the board, and some tags. Now our goal is to find out information about the hardware, stored data, and emulate or clone it.
Please get familiar with RFIDler CLI. RFIDler is a specialised board, designed to play with a specific family of RFID cards; do not expect edited manual or complete command reference. You can use Help, DuckDuckGo and the try/error pattern. If you have questions about some functions, clone the firmware source and take a look at the code.
We have to deal with electromagnetic fields carrying a signal. First step is to find out em characteristics: frequency of the tag and modulation used.
The modulation (ASK, FSK, PSK) is the method chosen to organise the analog signal in order to transmit something. We are basically interested in the returning wave form, to visually look at the signal and categorise them. Just full-power the tag and look at what comes back. RFIDler can function as signal sniffer, returning the sampled power. The useful CLI command is:
*ASKRAW> ANALOGUE 1000
	<?xml version="1.0" encoding="UTF-8"?>
	<RFIDler_Samples>
	  <Description>RFIDler Analogue Coil Samples</Description>
	  <Tag>
	    <Description>Tag Settings</Description>
	    <Tag_Type>
	      <Description>Tag Type</Description>
	      <Data>UNIQUE</Data>
	    </Tag_Type>
	    <Modulation>
	      <Description>Modulation Scheme</Description>
	      <Data>ASK/OOK</Data>
	    </Modulation>
	    <Data_Rate>
	      <Description>Data Rate (Frame Clocks)</Description>
	      <Data>64</Data>
	    </Data_Rate>
	  </Tag>
	  <Pots>
	    <Description>Potentiometer Settings (Decimal)</Description>
	    <Pot_High>
	      <Description>Potentiometer High Setting</Description>
	      <Data>255</Data>
	    </Pot_High>
	    <Pot_Low>
	      <Description>Potentiometer Low Setting</Description>
	      <Data>0</Data>
	    </Pot_Low>
	  </Pots>
	  <Samples>
	    <Description>Time Based Sample Arrays</Description>
	    <Coil_Data>
	      <Description>Analogue Circuit Raw Data (HEX)</Description>
	      <Data>
	        101010101010101010101010101010101010101010101010449ce0fcfc0000fc
			...
	        1410101010101010
	      </Data>
	    </Coil_Data>
	    <Reader_Output>
	      <Description>Analogue Circuit Digital Reader Output (HIGH/LOW)</Description>
	      <Data>
	        0000000000000000000000000000000000000000000000000000000000000000
            ...
	        0000000000000000
	      </Data>
	    </Reader_Output>
	    <Bit_Period>
	      <Description>Modulation Scheme Bit Period (TICKS)</Description>
	      <Data>
	        0101010101010101010101010101010101010101010101010101010101010101
            ...
	        0000000000000000
	      </Data>
	    </Bit_Period>
	  </Samples>
	</RFIDler_Samples>
With the data gathered, it is possible to graph the response. Fortunately, bundled in the source, there is a python tool rfidler.py that sends command sequences to the RFIDler in API mode, gets the XML, and graphs the answer:

The image Basic Facts shows the various answers obtained issuing the rfidler.py command with some variations of the fc parameters, in order to identify the transceiver’s resonance frequency; fc stands for field clock, and is basically the duration of a single oscillation of the em field, expressed in hundredths of a microsecond. Pretty simple: 1/frequency*100[us]: 1/125000 = 0.000008[s] or 8[us]; since fc is in hundredths of a microsecond, _fc_=800.
rcc@kali2:~/devel/_hardware/RFIDler/python$ rfidler.py /dev/ttyACM0 'set tag askraw' 'potset l 0' 'potset h 255' 'set fc 800' plot 500
sending 'SET TAG ASKRAW'
sending 'POTSET L 0'
sending 'POTSET H 255'
sending 'SET FC 800'
sending 'SET RATE 16'
Bit periods
[]
Most common bit periods:
899
999
500
In a few seconds – all this tests takes approximately 1 minute – we have identified:
Now we can try to decode the signal.
Using the same python tool, we tune the up-trigger potentiometer to a reasonable value, to convert the analog signal to digital signal. Around the half of the signal’s amplitude sounds ok, so we choose 150 (5V / 255 * 150 = ~3V)): Everything above 3V is 1. Everything below is 0.
rcc@kali2:~/devel/_hardware/RFIDler/python$ rfidler.py /dev/ttyACM0 'set tag askraw' 'potset l 0' 'potset h 150' 'set fc 800' 'set rate 64' plot 500
sending 'SET TAG ASKRAW'
...

rcc@kali2:~/devel/_hardware/RFIDler/python$ rfidler.py /dev/ttyACM0 'set tag askraw' 'potset l 0' 'potset h 150' 'set fc 800' 'set rate 64' plot 5000
sending 'SET TAG ASKRAW'
...

(a) shows the decoded signal, in essence how are the hi-low/transitions transformed in digital values. (b) shows the same thing, just for a longer period of time.
Now, how to decide the encoding?
Just try it out :) … Basically, it depends on the chip. Some chips sends a predefined sequence on startup (Example: the EM4200 family, sends 11111111+1 Parity Bit, so 9×1; this sequence appears only once during the whole sending cycle). Knowing the startup sequence, is possible to check if the encoding is Mancherster or Bi-Phase.
rcc@kali2:~/devel/_hardware/RFIDler/python$ ./rfidler.py /dev/ttyACM0 'set tag em4x02' 'set manchester off' 'set biphase on' 'potset l 0' 'potset h 150' 'set fc 800' 'set rate 64' plot 640
sending 'SET TAG EM4X02'
sending 'SET MANCHESTER ON'
sending 'SET BIPHASE OFF'
sending 'POTSET L 0'
sending 'POTSET H 150'
sending 'SET FC 800'
sending 'SET RATE 64'
...

rcc@kali2:~/devel/_hardware/RFIDler/python$ ./rfidler.py /dev/ttyACM0 'set tag em4x02' 'set manchester off' 'set biphase on' 'potset l 0' 'potset h 150' 'set fc 800' 'set rate 64' plot 640
sending 'SET TAG EM4X02'
sending 'SET MANCHESTER OFF'
sending 'SET BIPHASE ON'
sending 'POTSET L 0'
sending 'POTSET H 150'
sending 'SET FC 800'
sending 'SET RATE 64'
...


The image Reading the data shows the maximum data – that can be display on this web page in a readable form – captured with RFIDler (~9000fc) and the related bit sequence. To feel comfortable with the graph analysis is just matter of number of tags tested to train your eyes to quickly identify the modulation scheme and other interesting parameters. To decode the digital string received, we must know the tag type and the way data is organizied in each word; that’s the only way to interpreter the stream of bits.
All the steps in previous sections are just part of the game to understand how the system works, but mostly useless if you have RFIDler. To find out all the tag parameters, RFIDler provides the AUTOTAG command. Just put the tag on the coil, issue the command, and read the answer:
*RFIDLer> autotag
  ASKRAW: 55559956999569669AAA5AAAA95A695555559956999569669AAA5AAAA95A6955
  FSK1RAW:
  FSK2RAW:
  PSK1RAW: 5555555555555555555555555555555555555555555555555555555555555555
  PSK2RAW:
  PSK3RAW:
  HITAG1:
  HITAG2:
  EM4X02: 160051512B
  Q5: 160051512B
  HID26:
  INDALA64:
  INDALA224:
  UNIQUE: 68008A8AD4
  FDXB:
  T55X7:
  AWID26:
  EM4X05:
  TAMAGOTCHI:
Once the tag has been identified, set the type and get parameters (specifically, we copy the tag to a virtual tag VTAG):
*RFIDLer> set tag q5
OK

*Q5> copy
OK

*Q5> vtag
              Type: Q5
         Emulating: NONE
           Raw UID: FF8D8002CEE1FAA1C
               UID: invalid!

  Config Block (0): 865BF3FE

       Page Select: True
        Fast Write: False
         Data Rate: 63 = 128 * FC
           Use AOR: False
           Use PWD: False
       PSK Carrier: 3  = 8 * FC
      Inverse Data: True
        Modulation: 7  = NRZ/Direct
         Max Block: 7
                ST: False

     PWD Block (7): 0CB7E7FC    ....

              Data:
                 0: 865BF3FE
                 1: 00A1A865
                 2: 1B00050D
                 3: DF9FF1B0
                 4: 1A865BF3
                 5: C0014350
                 6: 3FE36000
                 7: 0CB7E7FC

*Q5> config

Current config:

  TAG Type:            Q5
  Frame Clock uS/100:  800
  Modulation:          ASK/OOK
  Manchester:          On
  BiPhase:             Off
  Invert:              Off
  Data Rate RF/n:      64
  Data Rate Sub 0:     0
  Data Rate Sub 1:     0
  Data Bits:           64
  Data Blocks:         8
  Blocksize:           32
  Sync Bits:           9
  Sync 0:              0xff
  Sync 1:              0xff
  Sync 2:              0x00
  Sync 3:              0x00
  Pot Low:             0
  Pot High:            160
  PSK Quality uS:      4
  Repeat:              20
  Timeout uS:          13000
  RWD Gap FC           50
  RWD Sleep FC:        13000
  RWD Wake FC:         4000
  RWD Zero FC:         16
  RWD One FC:          48
  RWD Wait RX->TX FC:  192
  RWD Wait TX->RX FC:  48
  Wiegand Pulse uS:    0
  Wiegand Gap uS:      0
  Wiegand IdleState:   Low
As you noticed, the UID is invalid. We can simply change it in the VTAG:
*Q5> encode FFFFFFFFFF q5
OK

*Q5> vtag
              Type: Q5
         Emulating: NONE
           Raw UID: FFFBDEF7BDEF7BC0
               UID: FFFFFFFFFF

  Config Block (0): E601F004

       Page Select: False
        Fast Write: False
         Data Rate: 31 = 64 * FC
           Use AOR: False
           Use PWD: False
       PSK Carrier: 0  = 2 * FC
      Inverse Data: False
        Modulation: 0  = Manchester
         Max Block: 2
                ST: False

     PWD Block (7):

              Data:
                 0: E601F004
                 1: FFFBDEF7
                 2: BDEF7BC0
We can now emulate the tag with RFIDler or clone it on another tag.
*Q5> emulator
OK
RFIDler continuously sends the copied information to the reader.
Using the RFIDler board, we have quickly identified some tags, classified by frequency, modulation, and encoding, extracted information and finally with two simple commands, cloned and emulated.
The importance of short range communication is increasing, and in the next couple of years the number of devices using RFID will explode. It is important to be familiar with the hardware and protocols, look at them from different angles, play with them and try to understand how they work.
RFID cards of type ISO/IEC 18000-2:2009 can be analysed well with the RFIDler board; RFIDler deals with the analog/digital part, and the firmware is open, so it is possible to add personalised functions. Playing with the RFIDler permits us to comfortable explore the strengths and weaknesses of 125-134khz tags.
P.S.: This lab also demonstrates that The Aleph of music applies to anything, anytime! Therefore, it is strongly suggested to read it while listening :D
Our experts will get in contact with you!

Rocco Gagliardi
Rocco Gagliardi

Rocco Gagliardi

Rocco Gagliardi
Our experts will get in contact with you!