Burp Bambdas & BChecks
Ralph Meier
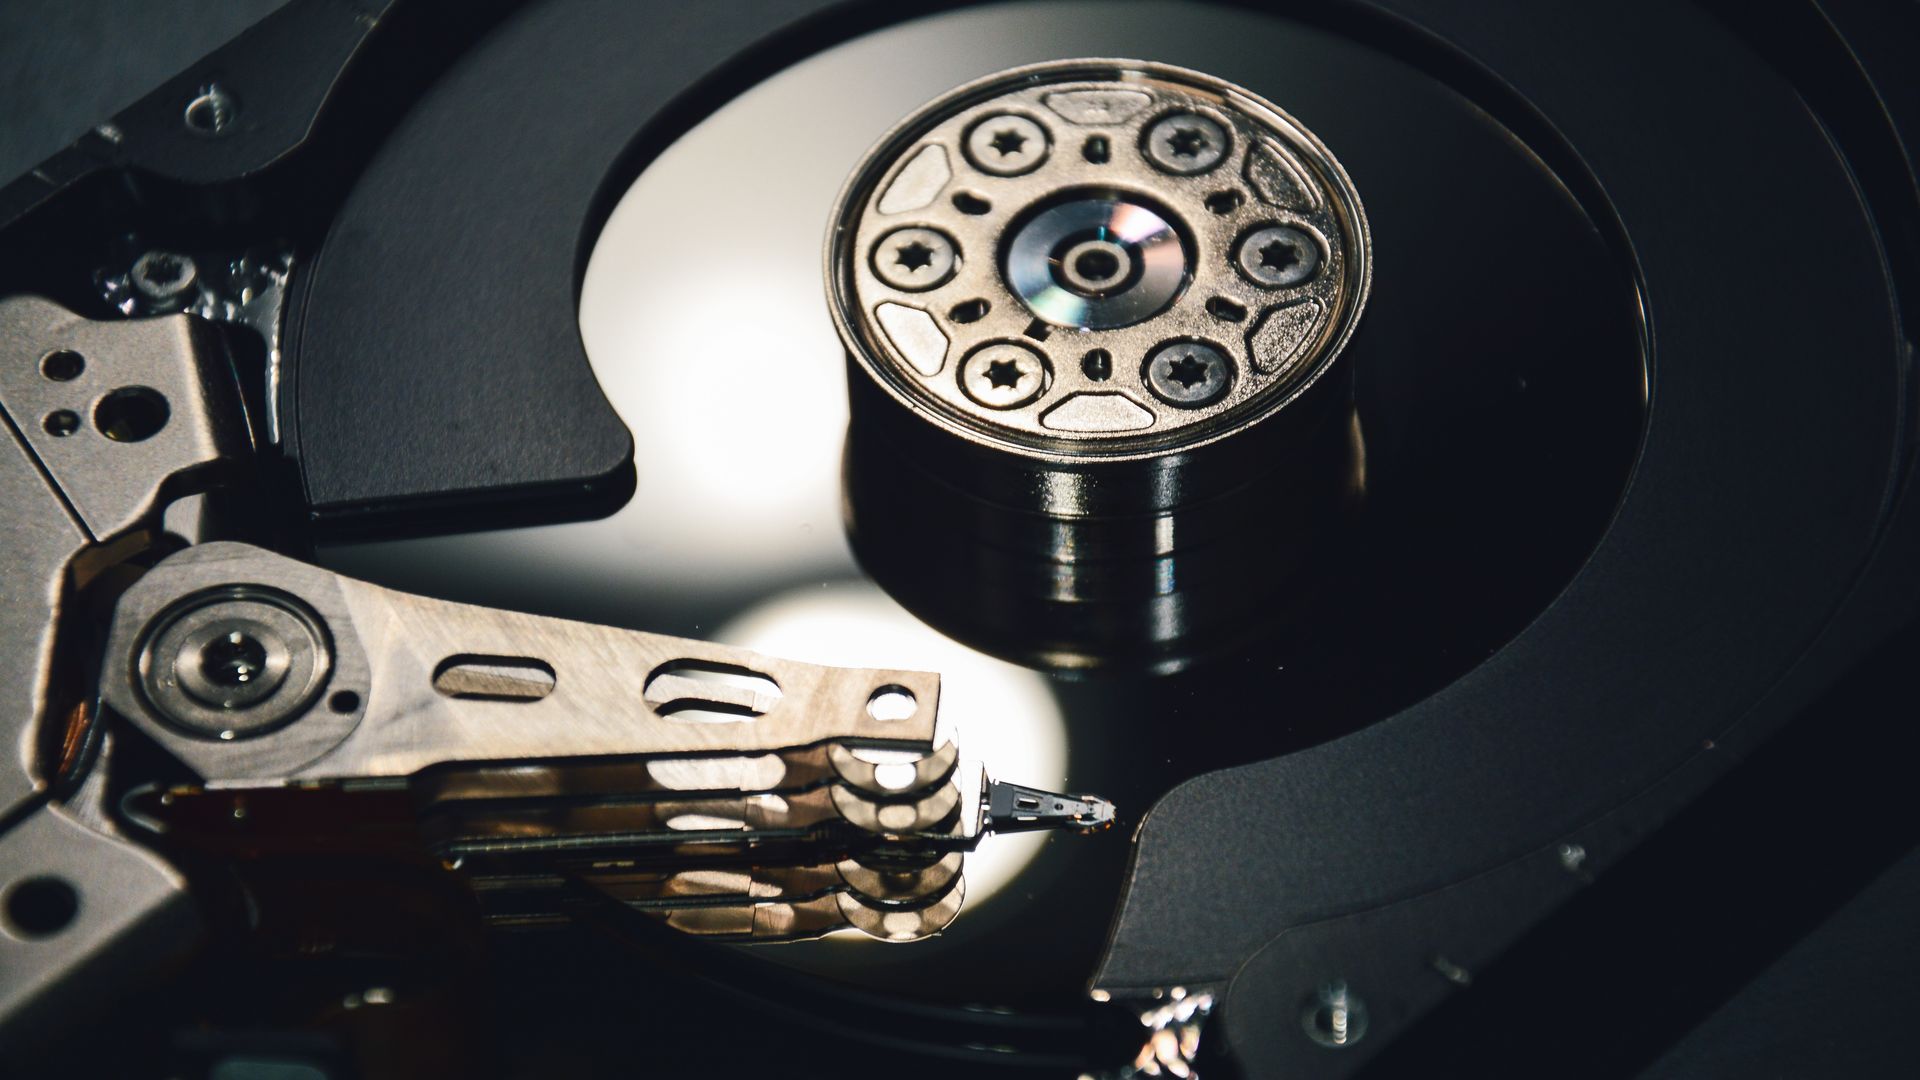

How to clone a hard disk
In order to carry out a smooth disk cloning, the following requirements must be met:
In order to carry out a clone with Clonezilla or disk dump, you first need a USB stick on which a bootable Linux distribution can be set up. Then, depending on the desired source and destination, two or three storage media are needed. If either the source storage medium, the target storage medium or both are removable, it only needs the source and target storage medium. However, in the case of two laptops with built-in, e.g. soldered, storage media, an additional storage medium is required for the transfer. The target storage medium must be at least the same size as the source storage medium. In the case of a transfer storage medium, it must be at least the same size as the source storage medium. It is simplest if the target storage medium is at least the same size as the transfer storage medium, but it also works if the transfer storage medium is larger than the target storage medium, as long as the target storage medium is the same size or larger than the source storage medium.
If the source storage medium is encrypted, it requires administrator access on the device in which the source storage medium is installed in order to decrypt it.
If the source or target storage media is built-in, BIOS access to boot a Linux distribution should be available on these devices. If both storage media are removable, another computer with BIOS access can be used. Depending on BIOS hardening, it may not need full BIOS access if it is possible to boot from external USB sticks.
To ensure that no time is lost during the cloning process, we recommend making the following preparations:
In the case of active hard disk encryption, such as Bitlocker or FileVault, this should be deactivated first. Then the operating system should be shut down completely so that the UEFI can be opened at the next start. In the UEFI or BIOS, it should be checked whether the USB interface is active, access to the boot sequence or the boot menu is possible and Secure Boot should be temporarily deactivated.
There are many different ways to create a bootable USB stick. Here it is important that the bootable USB stick has UEFI compatibility, otherwise it will not work with current UEFI BIOS, as the Compatibility Support Module (CSM) has been deactivated in the meantime. Read more in the article The BIOS – History and Hardening Options .
We recommend using a live installation of the desired Linux distribution so that no new operating system has to be installed, but the Linux distribution runs exclusively in the RAM and is gone again after shutdown.
With Debian version 12.2.0, creating a bootable USB stick is easy. First download the desired ISO file from the Debian website, for example a live installation of version 12.2.0. The ISO file can then be copied directly to the USB stick.
cp debian.iso /dev/sdc
This copying process may require root rights. Afterwards, a sync should be carried out, which forces the writing of any data in temporary storage to persistent storage and thus ensures that the ISO file is completely stored on the USB stick.
On Windows, the programme Rufus can be used to create bootable USB sticks with all kinds of operating systems. To ensure UEFI compatibility, select GPT for the partition scheme and UEFI (without CSM) for the target system. The live image is best obtained from the Debian website, as described above.

The ISO file for creating a bootable USB stick can be obtained from the Clonezilla website.
When the bootable USB stick is ready, the cloning process can be started:

The parameter -r should be used if the target storage medium is larger than the source storage medium in order to be able to use the entire storage space of the target storage medium without manual partitioning.
The parameter -icds should be used if the target storage medium is smaller than the transfer storage medium.
If the target storage medium is too small, the cloning process is aborted. Otherwise, the cloning process is carried out as configured.
The disk dump utility is available on all Linux distributions, in this article a live installation of Debian is used as an example. Debian live installation images are available on the Debian website in different variations.
With a bootable USB stick with a Debian Live installation, the cloning process can be started:

More detailed information can be viewed with the commands blkid and fdisk -l, but root rights are required for the executions.
sudo dd if=/dev/nvme0n1 of=/dev/sda bs=64M conv=sync,noerror status=progress
| Parameter | Description |
|---|---|
| if | Source, in our case the path to the source storage medium |
| of | Target, in our case the path to the target storage medium |
| bs | Block size, this can be used to influence the write speed, among other things, the optimal block size is very hardware-dependent. 64M = 64 megabytes is a good starting value. |
| conv | Conversion, the values sync,noerror cause this area to be filled with NUL if errors occur during reading. |
| status | Amount of information about copy/clone process, the value progress periodically updates the last line with the current copy status |
When using a transfer storage medium, the second step is to copy from the transfer storage medium to the target storage medium, specifying the transfer storage medium as if, as it is considered the source storage medium in this step.
disk dump writes bit by bit, so the existing partition table as it exists on the source storage medium is taken over.
When changing to a more modern device or generally to a device with different components, disk cloning should not be carried out. This is because the drivers will not fit exactly and in extreme cases the device will not function properly or only to a limited extent. Another reason for reinstalling the operating system on the new device rather than cloning is if there are a lot of old burdens on the source storage medium. These would simply be carried over with a cloning process and could continue to restrict the speed or reliability of the computer.
After a successful cloning process, all previously used hardening settings including hard disk encryption should be reactivated. Disk cloning makes sense in some cases and is the easiest way to back up data and at the same time delete it on the device to be repaired. After the repair, the clone can be restored to the computer and you can continue with the identical status. With a little preparation and the right choice of storage media, especially in terms of disk size, a cloning process is relatively easy to carry out.
Our experts will get in contact with you!

Ralph Meier

Ralph Meier

Ralph Meier
Ralph Meier
Our experts will get in contact with you!